Using Bonsai with the Acquisition Board#
Install Bonsai#
Installers are available at bonsai-rx.org.
Install the Bonsai Ephys package#
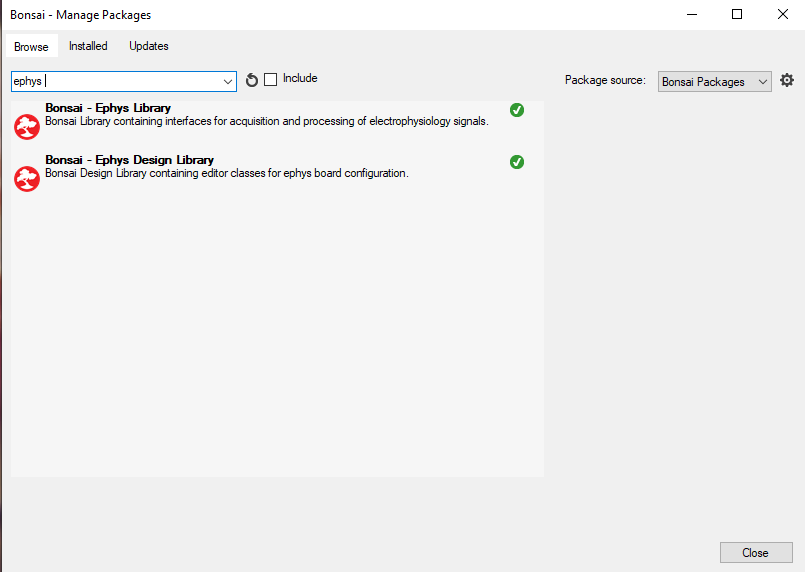
First, click on Tools > Manage Packages
In the package manager, search for “Ephys”
Click the “Install” buttons to add both the Bonsai - Ephys Library and Bonsai - Ephys Design Library.
Open the Ephys example workflow#
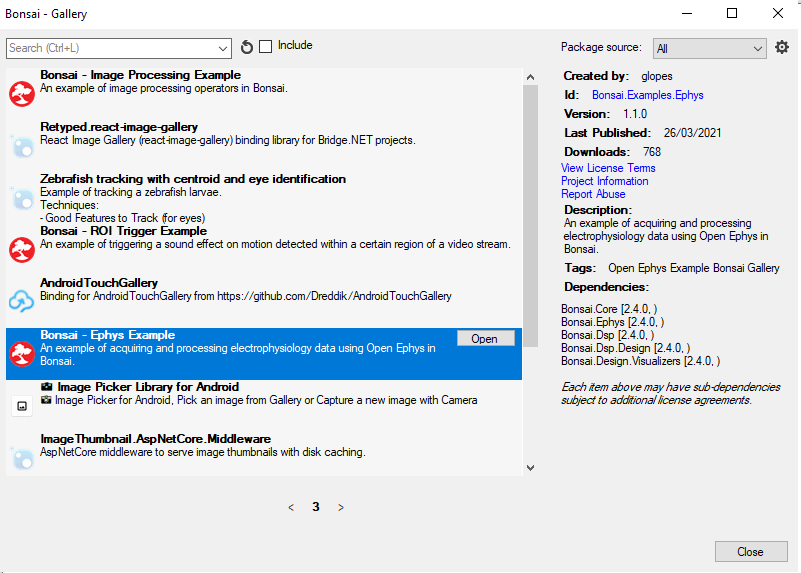
Search for “Ephys” in the Bonsai Gallery, and open the Bonsai - Ephys Example workflow.
Replace the FPGA bitfile#
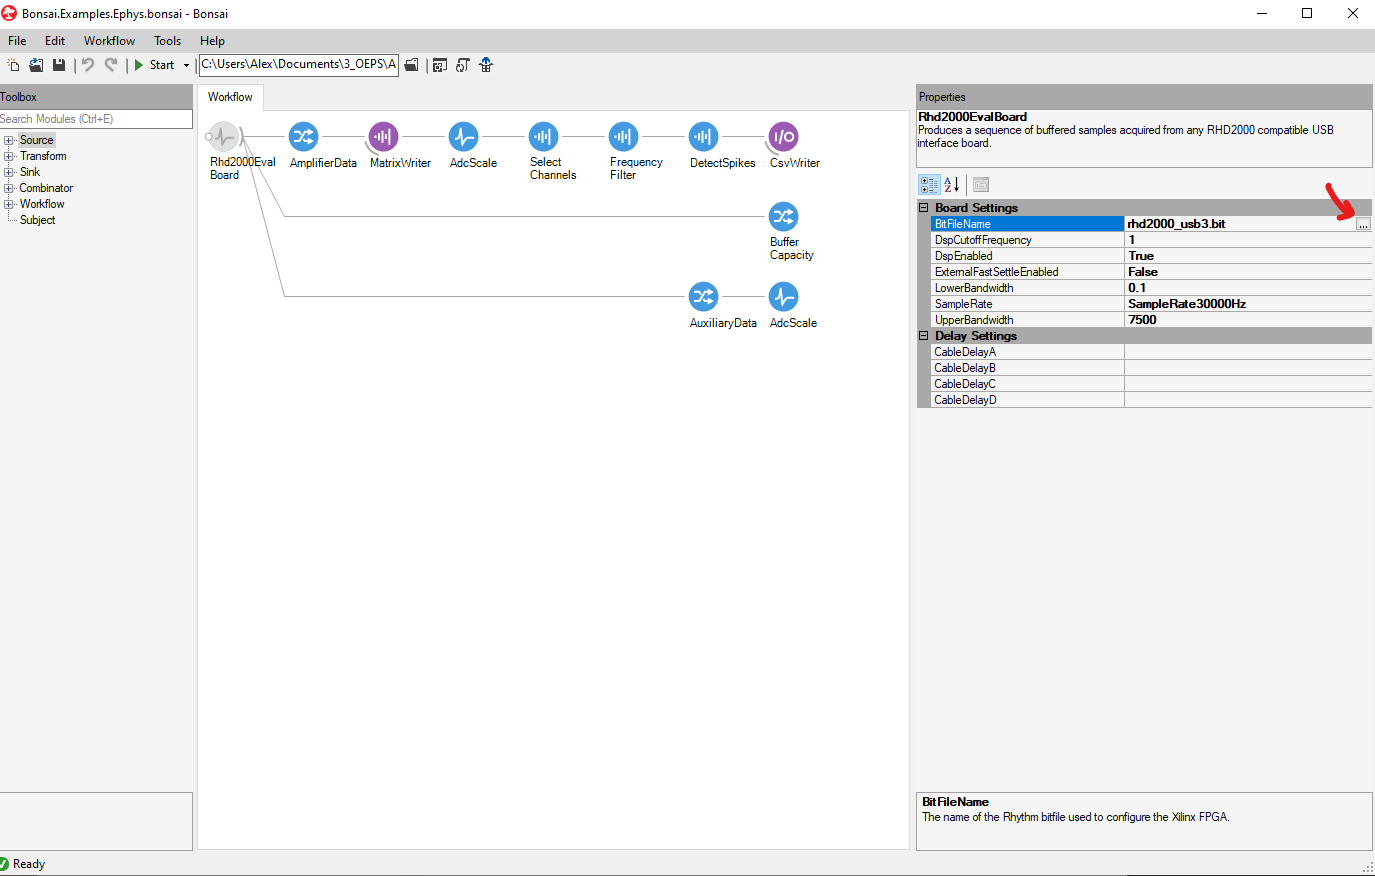
In the Ephys example workflow, click on the Rhd200EvalBoard` node to select it. On the right-hand side, you will see a column where you can configure the properties of that node.
Click on the ‘…’ to replace the default rhd2000_usb3.bit file with the rhd2000_usb3.bit file that is present in your local installation of the Open Ephys GUI, or download it directly from GitHub.
Streaming data#
Make sure your Open Ephys Acquisition Board and a headstage are connected. You can use the headstage without an animal to perform test recordings, just using the noise that the headstage will pick up. Click the Start button to run the workflow. You can double-click on each node (circle) to open the visualiser at that point in the workflow, so that you can see how data is being transformed at each step.
Customize the workflow#
The example selects only channel 1 and 2 using the ‘Select Channel’ node. Add all the channels you are interested in and run the workflow again. Use Page Up and Page Down to scroll through the pages of the visualiser.
Make sure you also check and if necessary adjust the settings for the frequency filter and spike detector.
You can extract more types of data from the board by right-clicking on the Rhd200EvalBoard` node. For example, you can choose to visualise TTL events coming through the Digital Input port of the Acquisition Board (right-most HDMI port, closest to the headstage inputs). You can also visualize the auxiliary data from the headstage if the headstage includes an accelerometer.
Check that your data is being saved#
In Bonsai, data will only be saved if there is a purple ‘sink’ node at the end of the workflow. In the example, the ephys channel data is being saved in a .bin file that you can open in, for instance, Python or MATLAB. The extracted spikes are saved as a .csv that you can open in Excel or load using the Pandas library <https://pandas.pydata.org/>.
Before recording a real experiment, always do a trial recording to make sure your data is being saved, and that when you open it, it contains the expected number of channels etc. You can do this without an animal, just using noise recorded from the headstage.