Quick Start Guide#
The first section helps users navigate to a tutorial for automating commutation using the specific set of hardware and software that they have. The second section helps users test core functionality of their commutator without any tracking.
Automate Commutation#
Using a 3D Capable Headstage/Miniscope#
This requires a headstage or a miniscope that has an onboard sensor capable of providing absolute orientation data such as the Open Ephys 3D capable headstages with 9-axis inertial measurement units (IMUs). Click a card from the matrix below to navigate to instructions for automating commutation using your particular set of hardware and software.
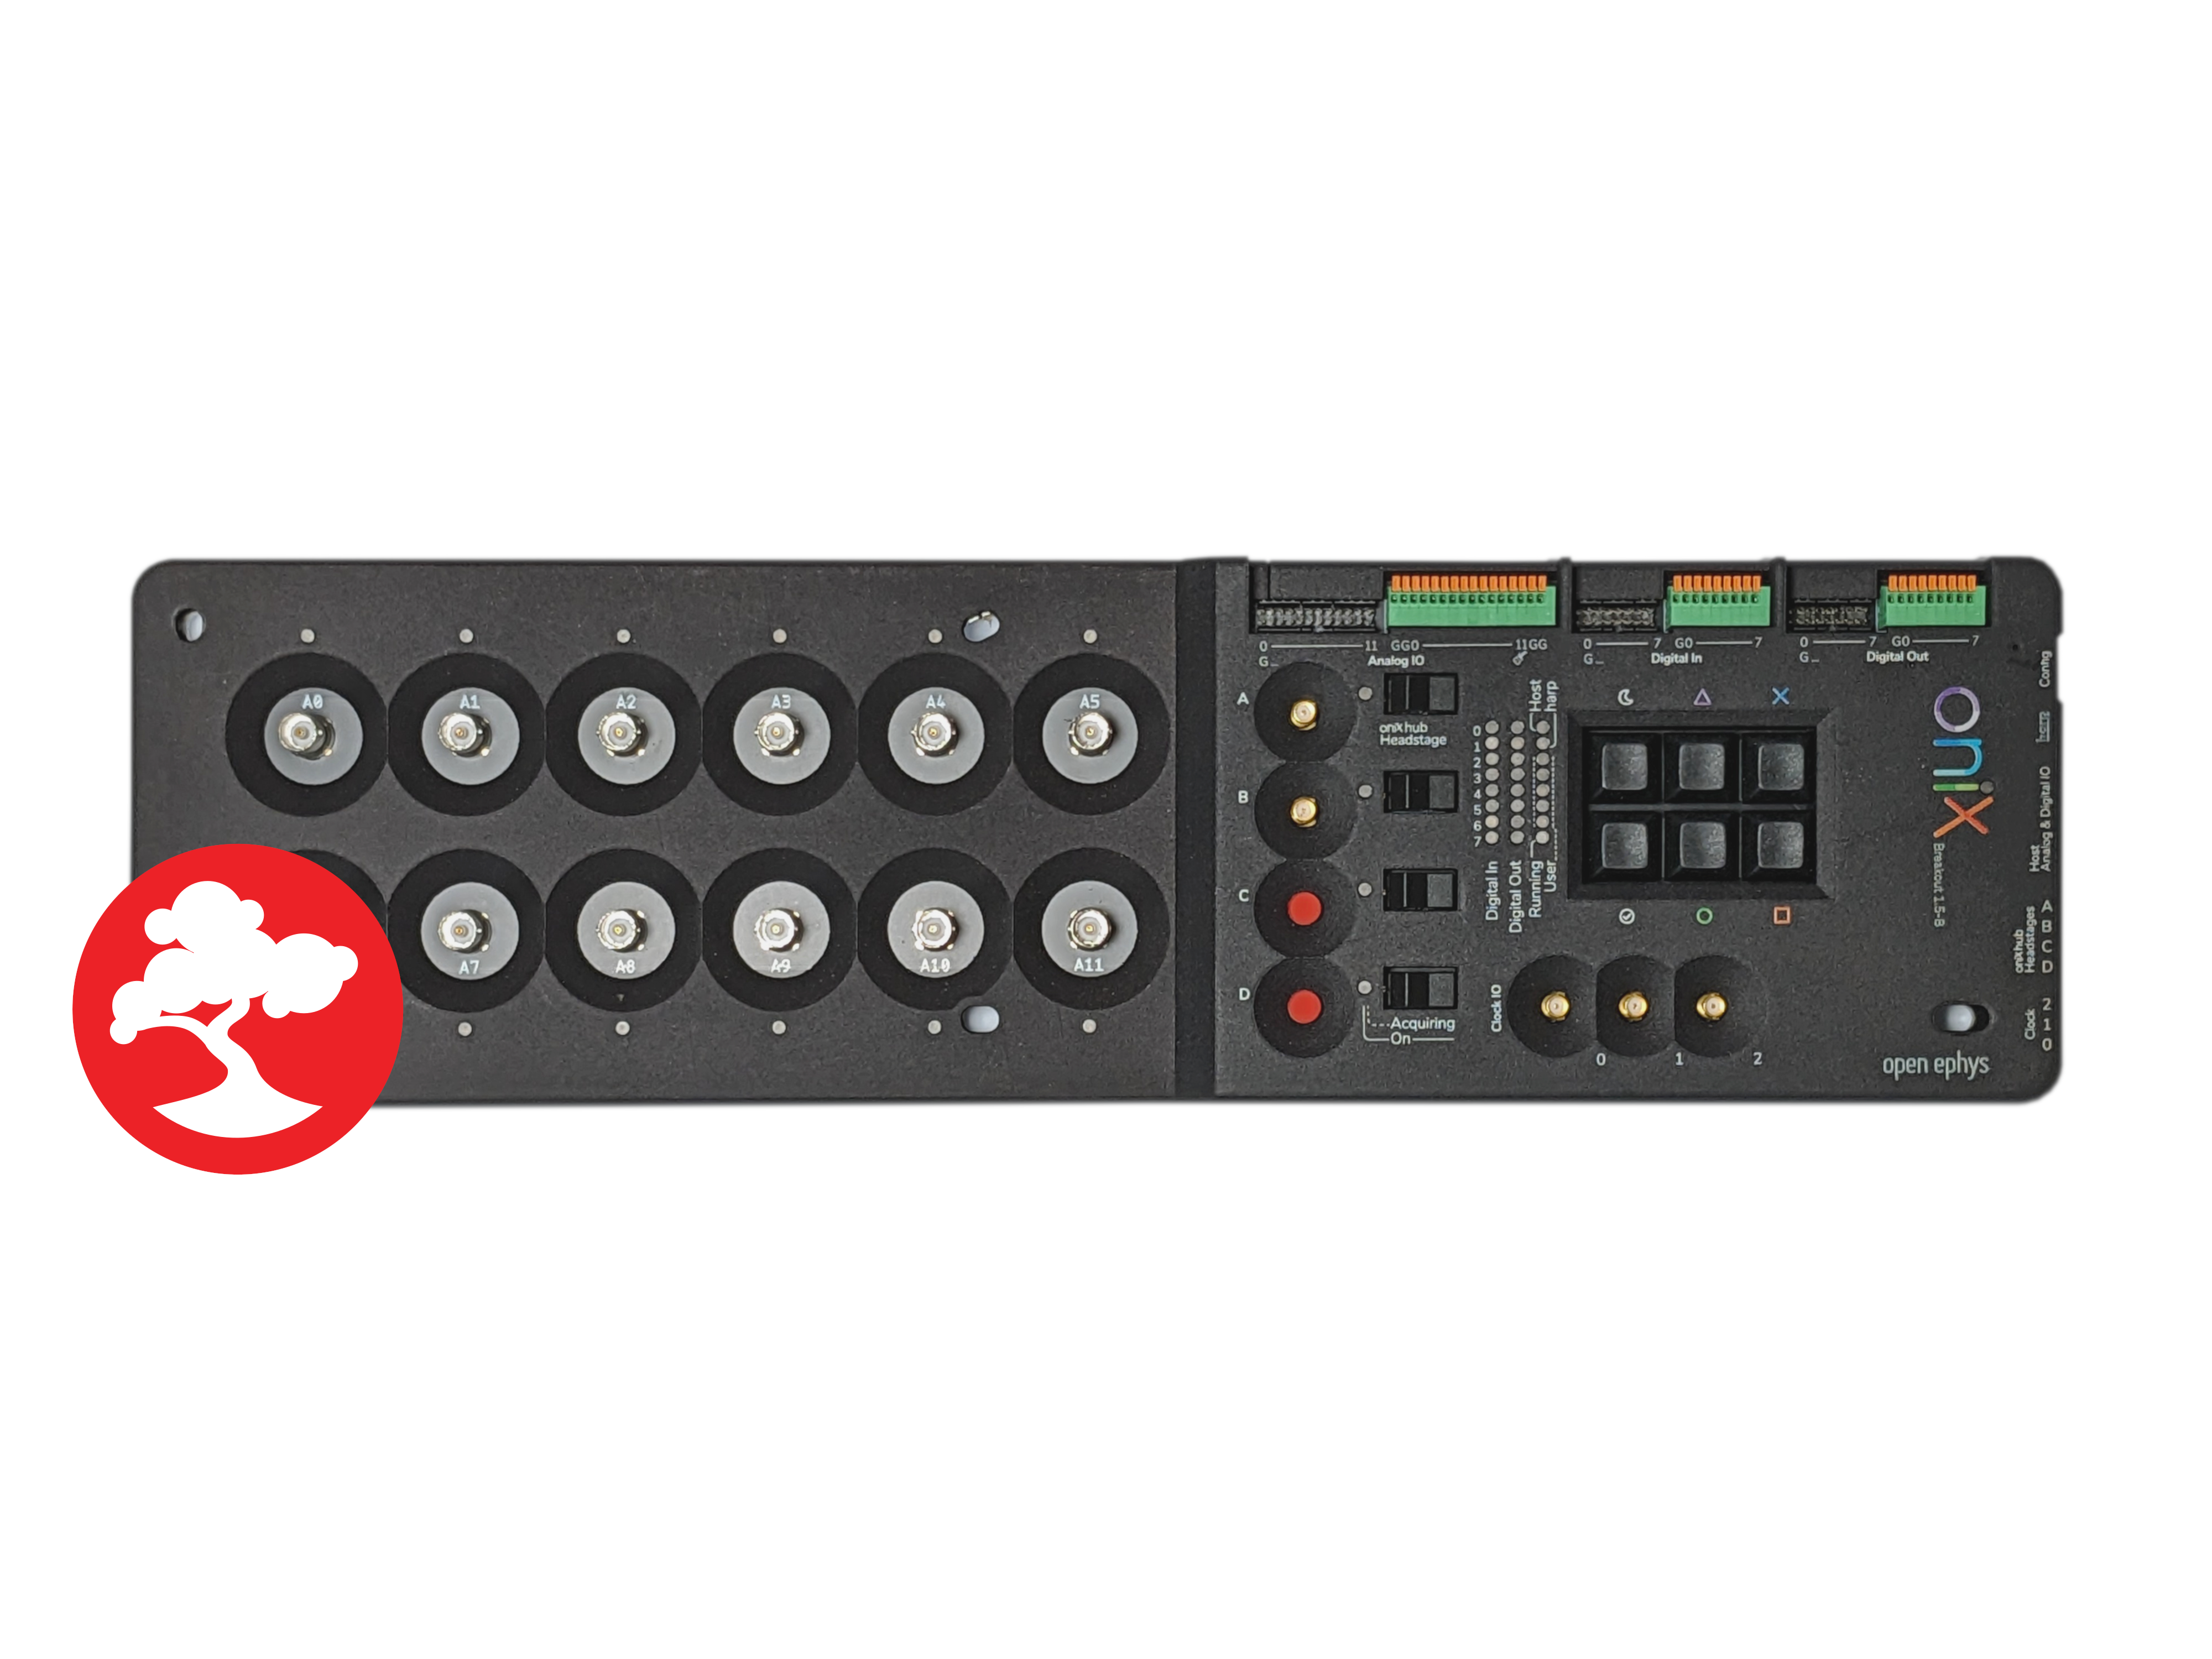
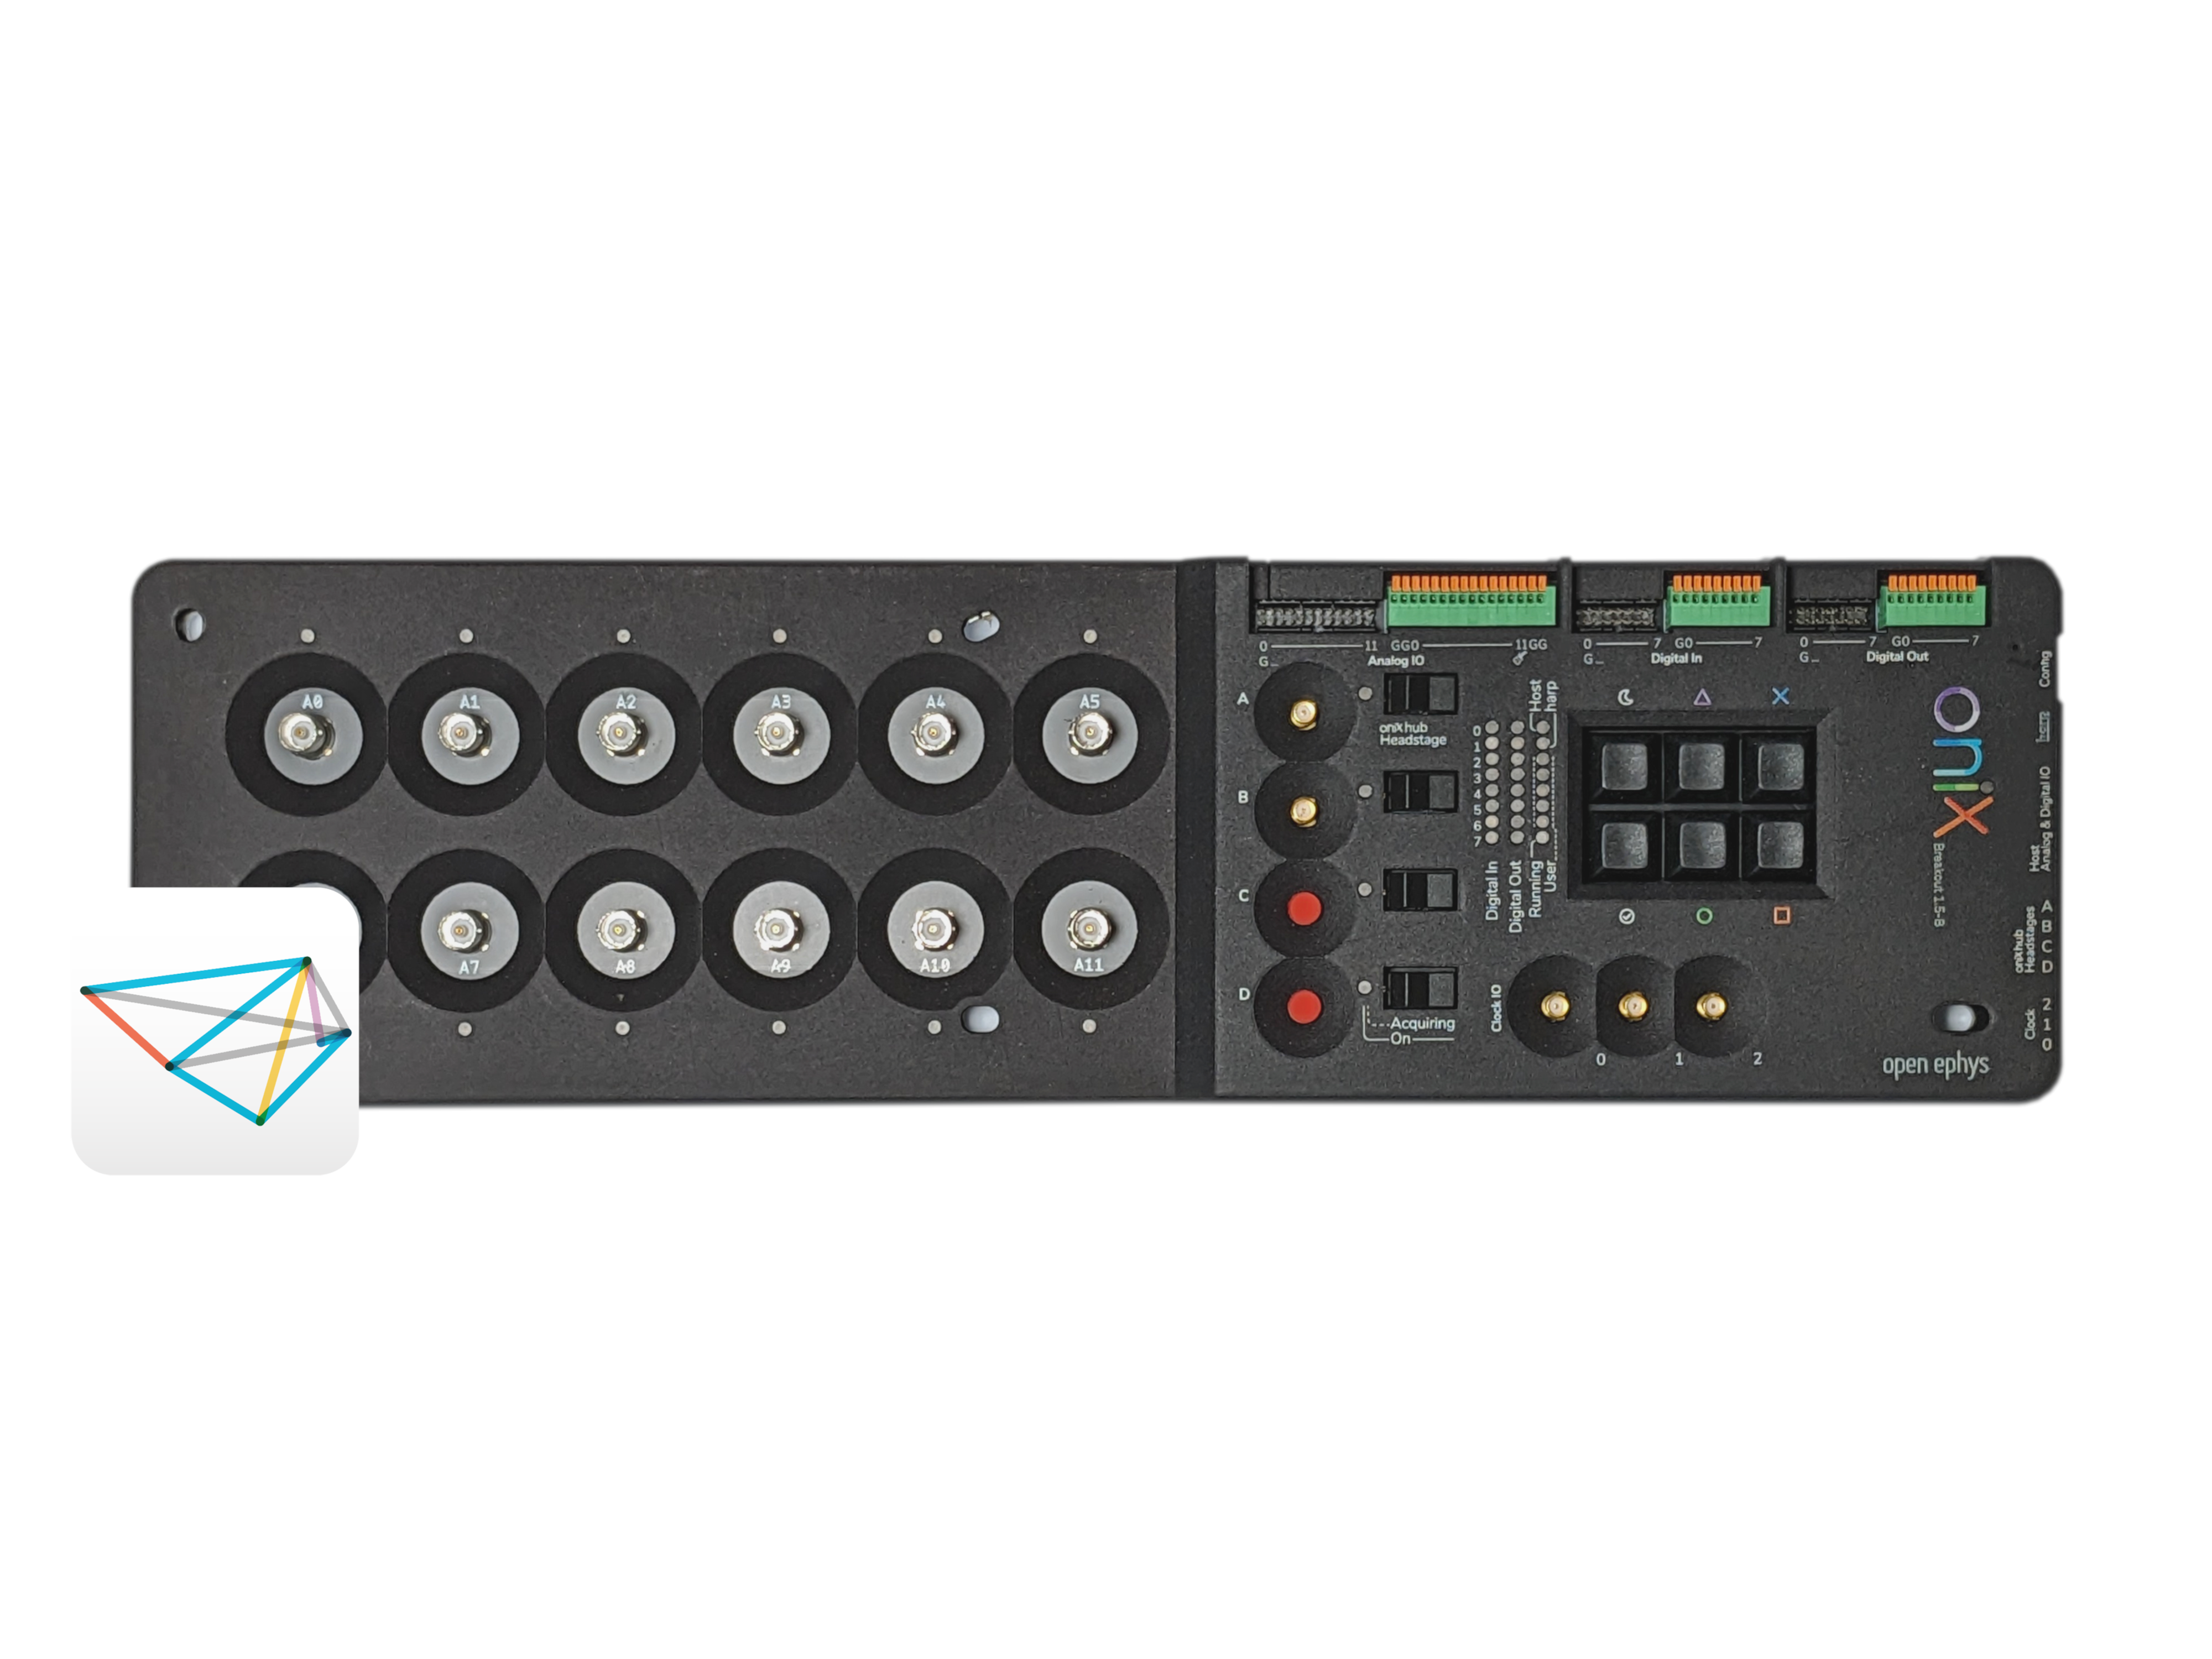
ONIX
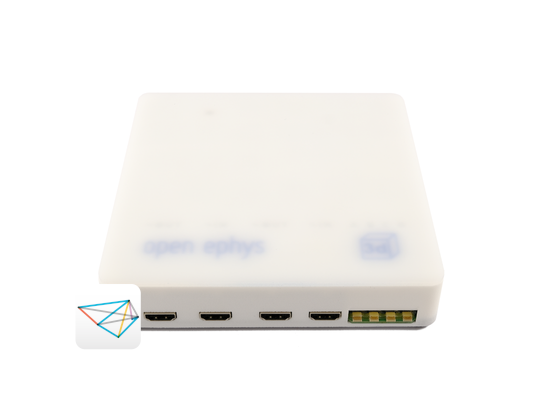
Acquisition Board Gen3
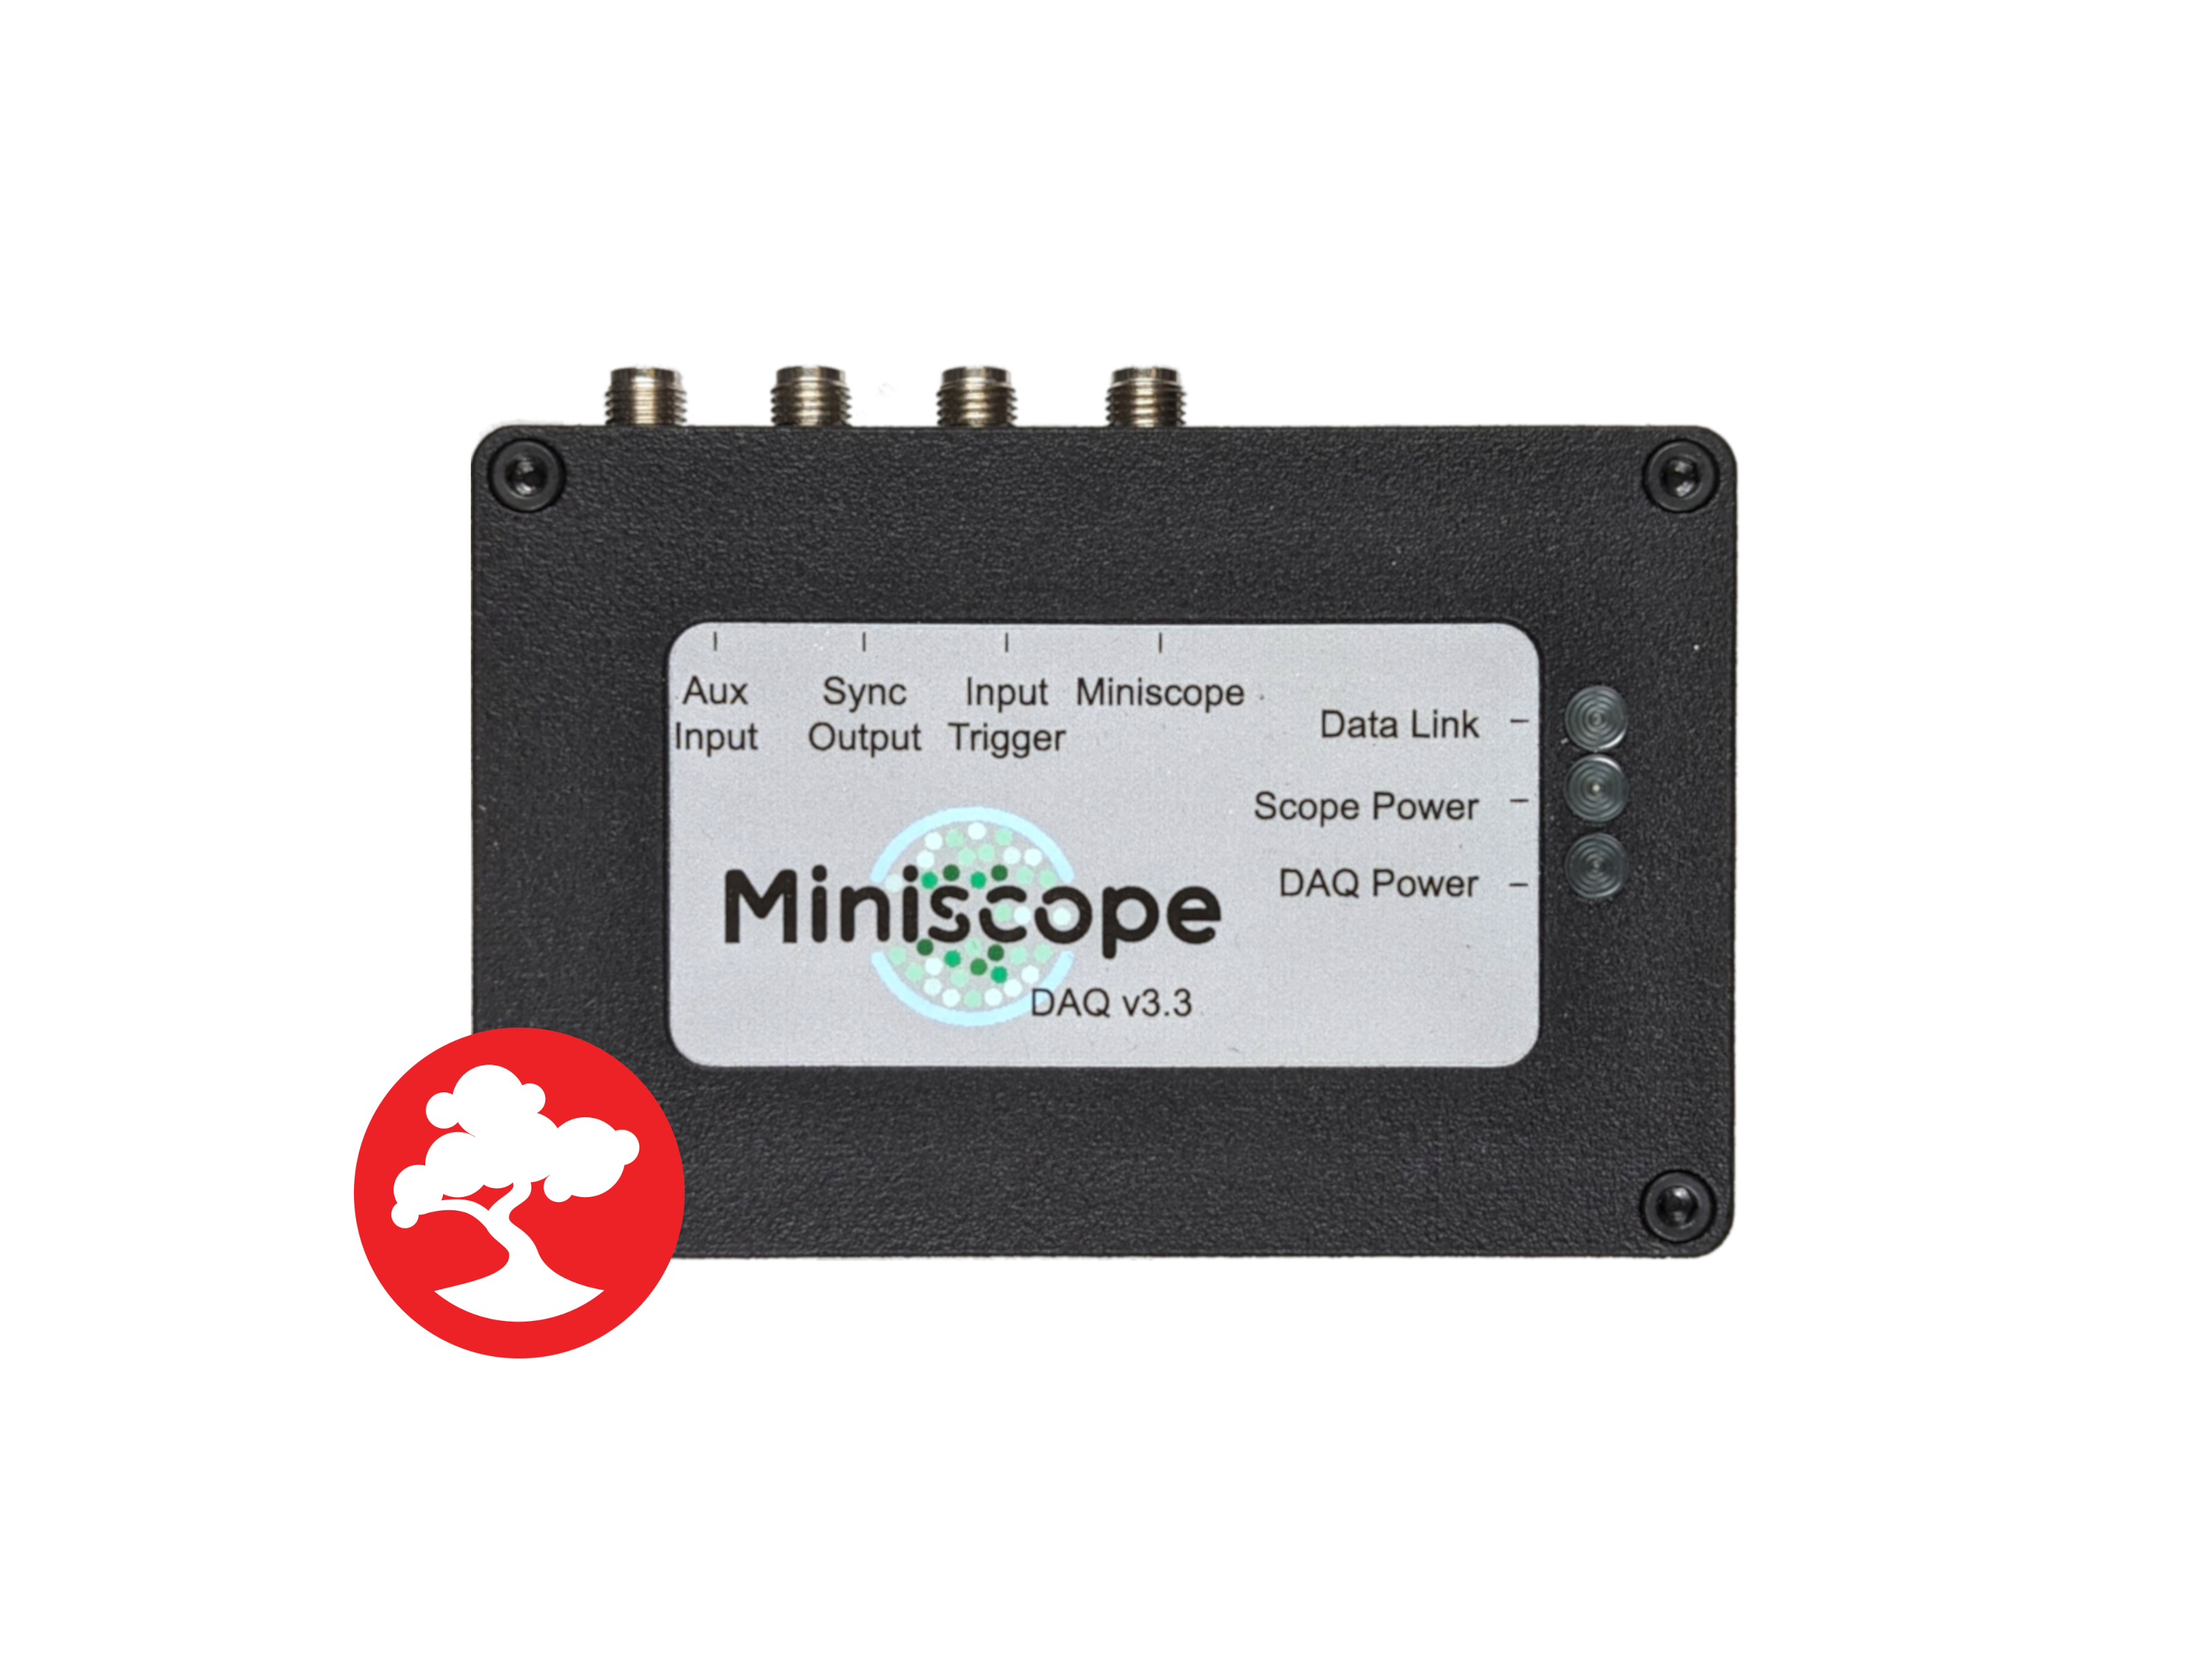
Miniscope DAQ
Bonsai
Not currently supported
Open Ephys GUI
Not applicable
Using Pose Estimation (SLEAP/DLC)#
This requires a computer with sufficient graphics processing capabilities and training a network to track your animal and extract orientation data. Follow the Commutate with Computer Vision guide.
Verify Commutator’s Core Functionality#
This quick start guide provides basic setup instructions to verify the commutator’s functionality – that it can accept turn commands through serial communication over its USB connection – without no additional hardware requirements or automated tracking features. By following these steps, you will be able to turn the commutator using keyboard presses from a Bonsai workflow.
If you have not already done so,
Open Bonsai and install the Bonsai.StarterPack package
Connect the commutator to computer using a USB-C (Micro-USB in older versions) cable to establish power and communication between the commutator and the computer.
Note
The commutator’s RGB LED will flash red when the commutator is plugged in. During this time, the commutator is charging an internal supercapacitor bank that prevents the motor from loading the USB port. This can take up to 30 seconds to complete.
Position the commutator such that the commutator’s gears can rotate freely.
Download and run the following .bonsai file (also known as a “workflow”) for controlling the commutator using key presses:

 commutator-keypress-control.bonsai
Configure the PortName property of the SerialWriteLine node to reflect the port to which the commutator is connected:
In Bonsai, click the SerialWriteLine node and modify the PortName property (highlighted below).

The PortName property enumerates detected COM ports when the field is clicked. If multiple COM ports are available when the commutator is connected, try disconnecting and reconnecting your commutator. The COM port that disappears/reappears from the enumerated list when disconnecting/reconnecting your commutator is the one that corresponds to your commutator. Set PortName to this COM port.
Run the workflow in Bonsai by pressing the green Start arrow.
Et voilà! The commutator motor now rotates when the left and right arrow keys are pressed on the keyboard.
The angular displacement per key-press can be adjusted by clicking the String nodes and modifying the Value property
To see the JSON commands being sent to the commutator, double-click the SerialWriteLine node while the workflow is running to show a text visualizer.
After confirming its functionality, you are ready to start setting up your commutator for an experiment. Start with learning more in-depth about Mounting and Connecting your commutator.