Setup#
Mount 2 HTC Vive Base Station v1.0 Lighthouses over the behavioral arena. Here we’ve used aluminum extrusion parts and made use of the 1/4”-20 mounting holes on the lighthouses.
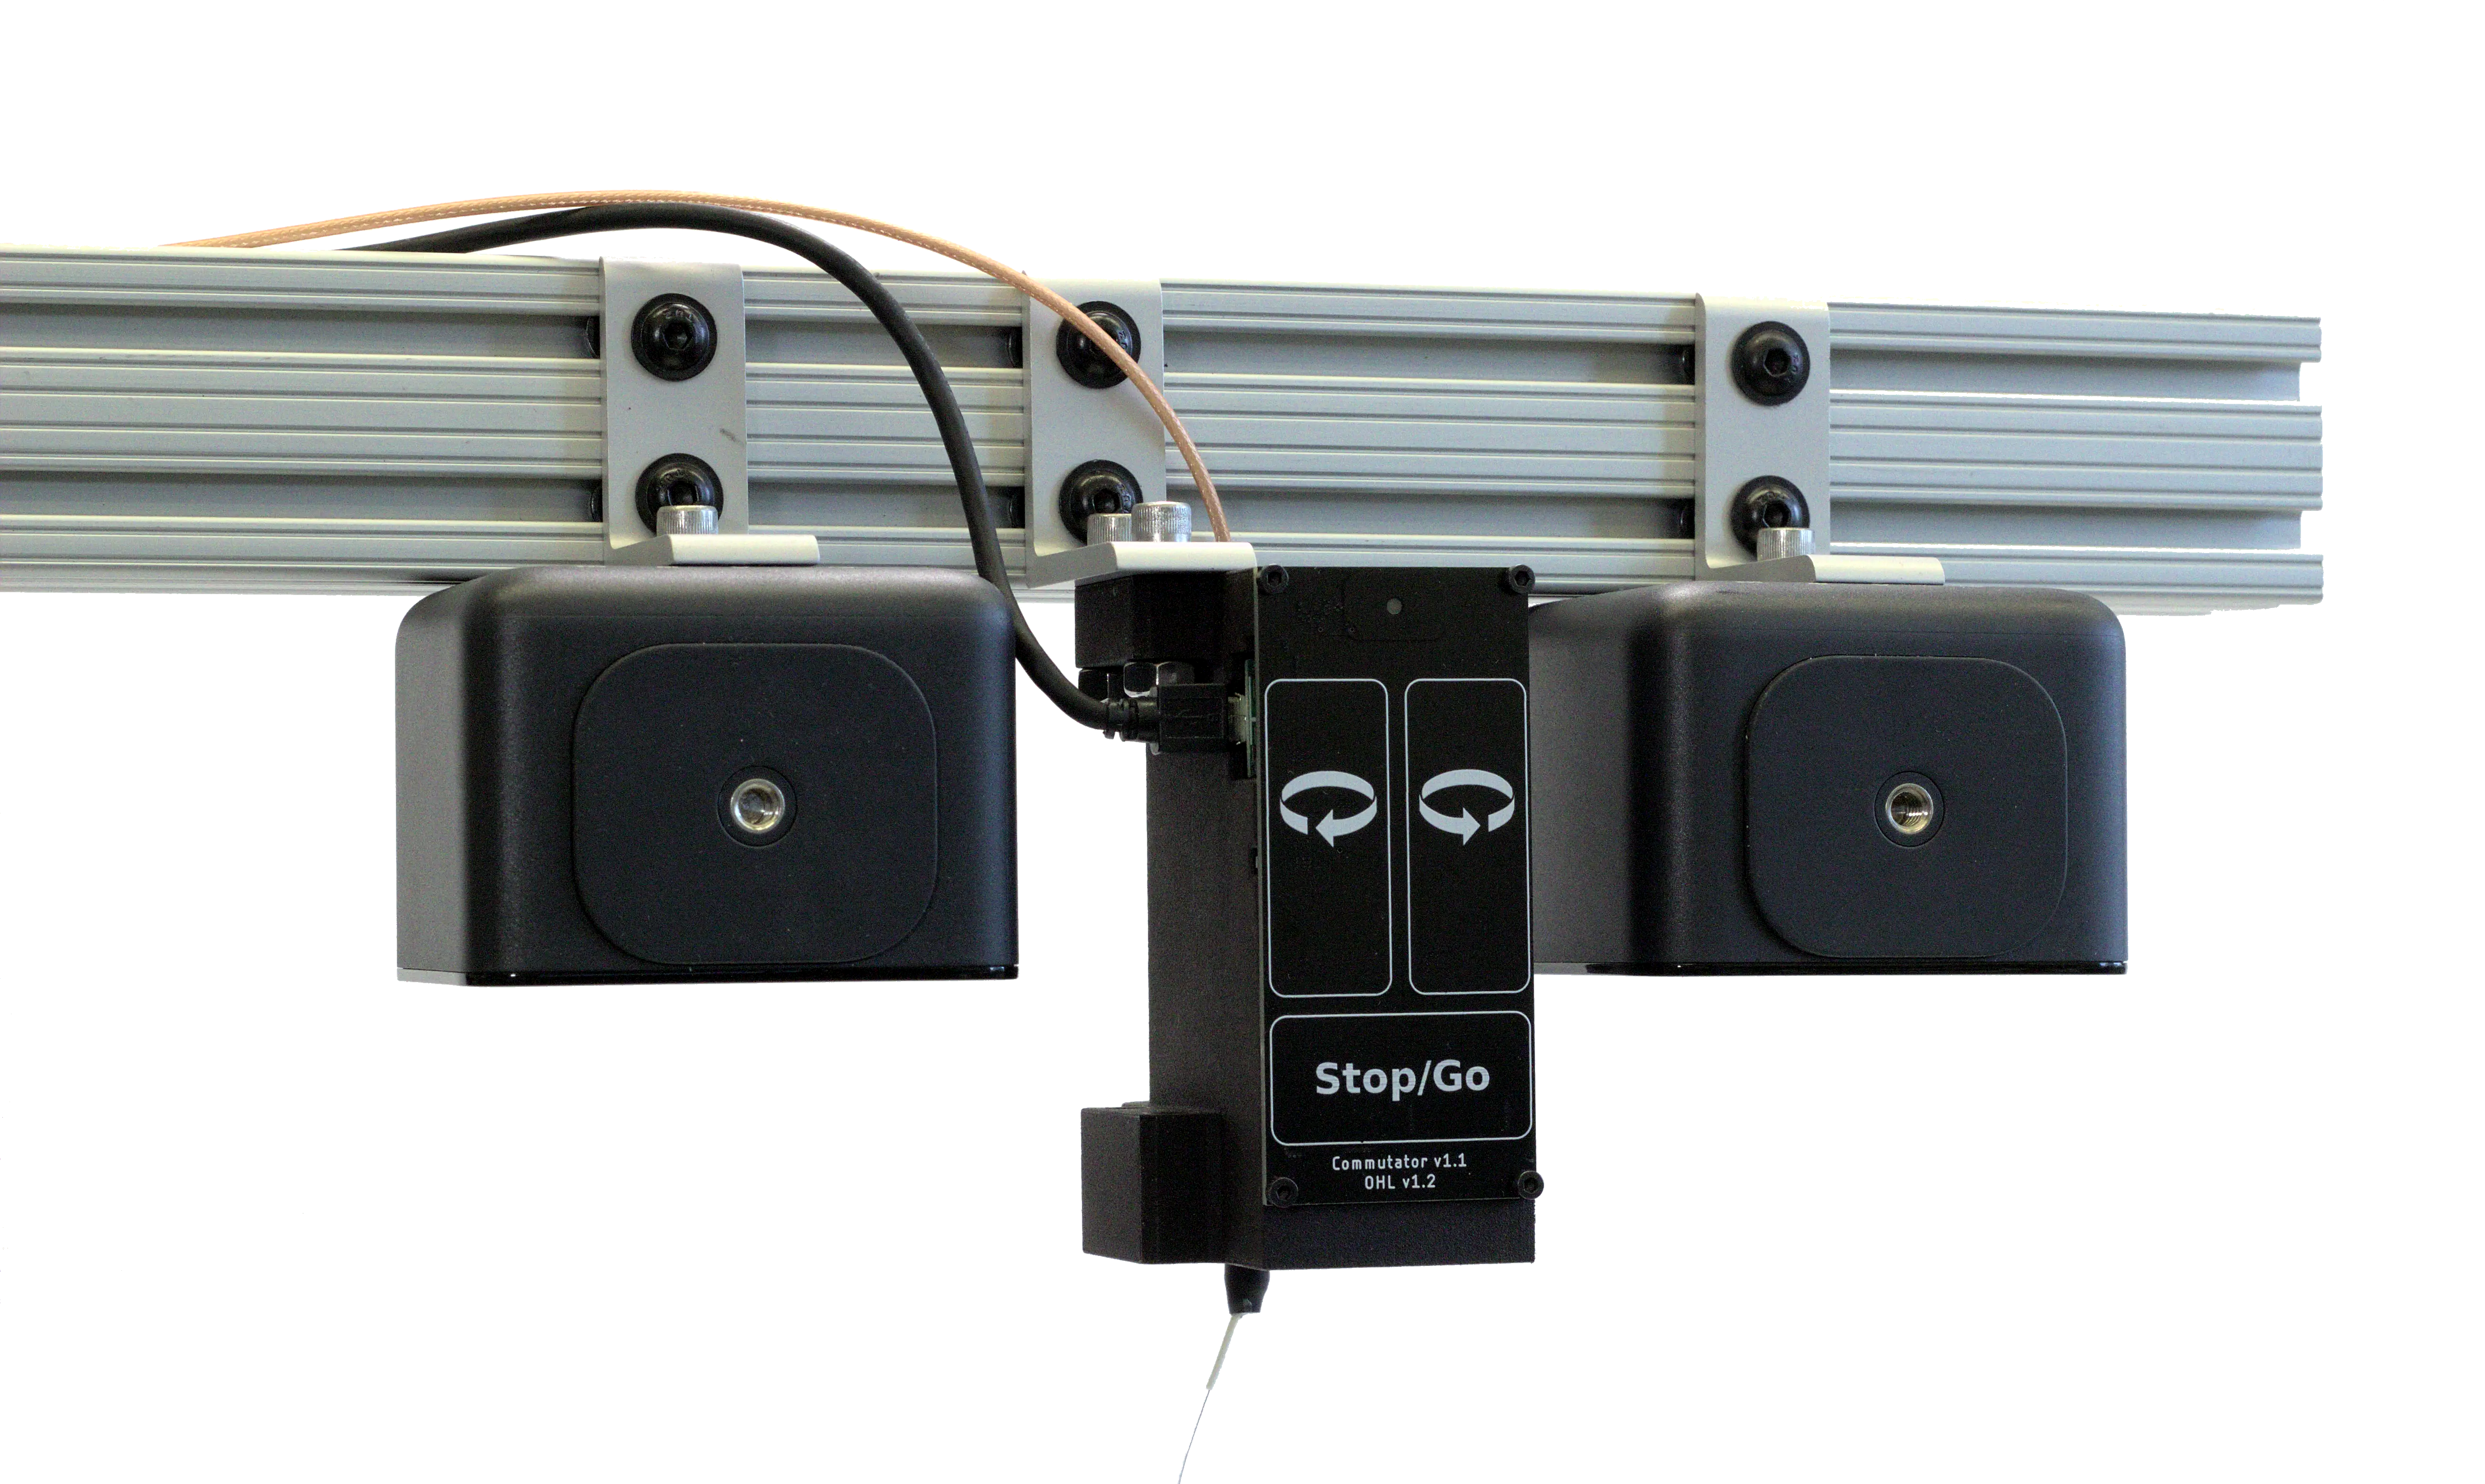
How the actual hardware could look for mounting on extruded aluminum rail.#
Follow these guidelines when deciding where to mount your lighthouses:
They should be centered above the arena, with the front panel facing the arena and have the same orientation. Remove the thin transparent film that covers the front panel if you have not already.
The distance between the receivers on the headstage and the transmitters in the lighthouses should not exceed the maximum range limit. This depends on the sensitivity of the receiver’s photodiode on the headstage and is best determined experimentally. Each lighthouse has a 120° field of view. However, the receivers have a higher chance loosing line of sight of the transmitters at these larger angles if the headstage tilts.
The distance between the receivers on the headstage and the transmitters in the lighthouses should exceed the minimum range limit, ~30 cm in front of the lighthouse. If you don’t see any readings, ensure the headstage is not excessively close to the lighthouses.
Position measurements are noisier when the headstage is at the boundary of the lighthouses’ range, so leave a safe margin.
The headstage must be in the range of both lighthouses in order to measure position.
Secure the lighthouses such that they can’t be easily jostled or moved because lighthouses emissions are interrupted during movement. Moreover, if the lighthouses are permanently displaced from the movement, previous calibrations become invalid.
Lighthouse performance might improve in the absence of natural or other IR light.

A cartoon of what a lighthouse & commutator commutator might look mounted on extruded aluminum rail. The overlapping green area represents the region where a TS4231 device is in range of both lighthouses and can measure position.#
Tip
To confirm if the lighthouse configuration covers the entire behavioral arena, slowly move the TS4231 device through the entire arena while running an example workflow and inspecting the TS4231V1PositionData position data visualizer. If the TS4231V1PositionData operator ceases to produce data (i.e. if the visualizer stops updating) at a certain spot, the current lighthouse configuration does not cover that spot. If you are unfamiliar with using Bonsai to acquire Onix data to do this, visit the OpenEphys.Onix1 Bonsai package Getting Started page.
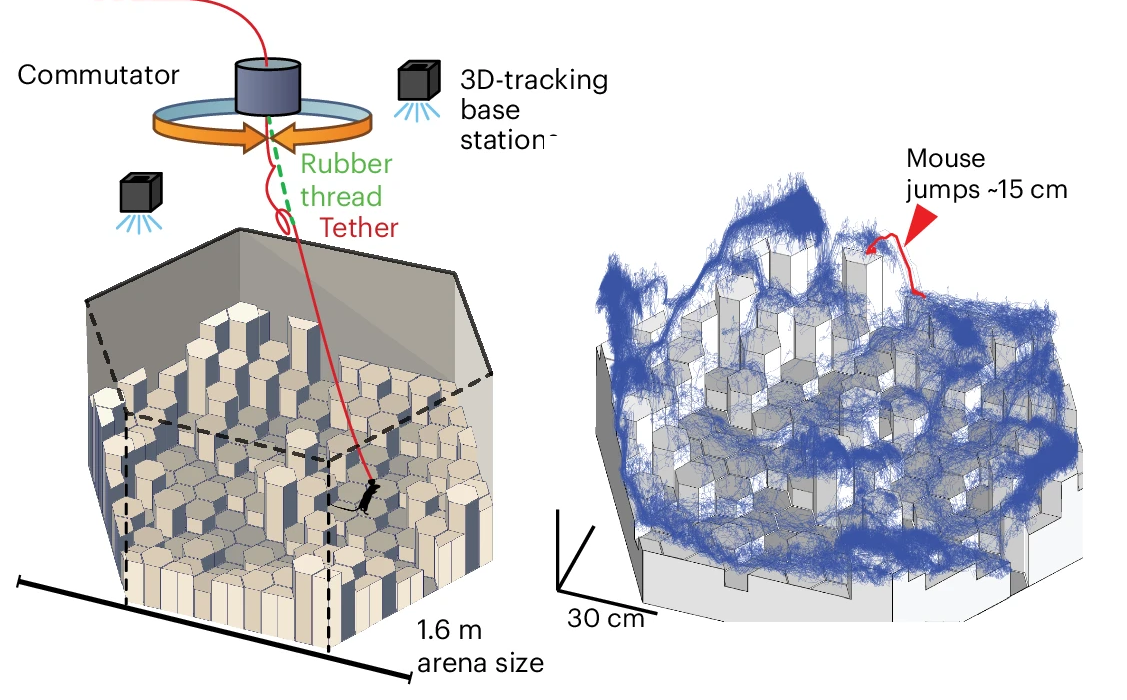
Crops of figures from ONIX: a unified open-source platform for multimodal neural recording and perturbation during naturalistic behavior. The lighthouse transmitters are mounted on the ceiling and their range cover the entire ~2m range. The blue line represents a mouse’s movement over ~8 hours.#
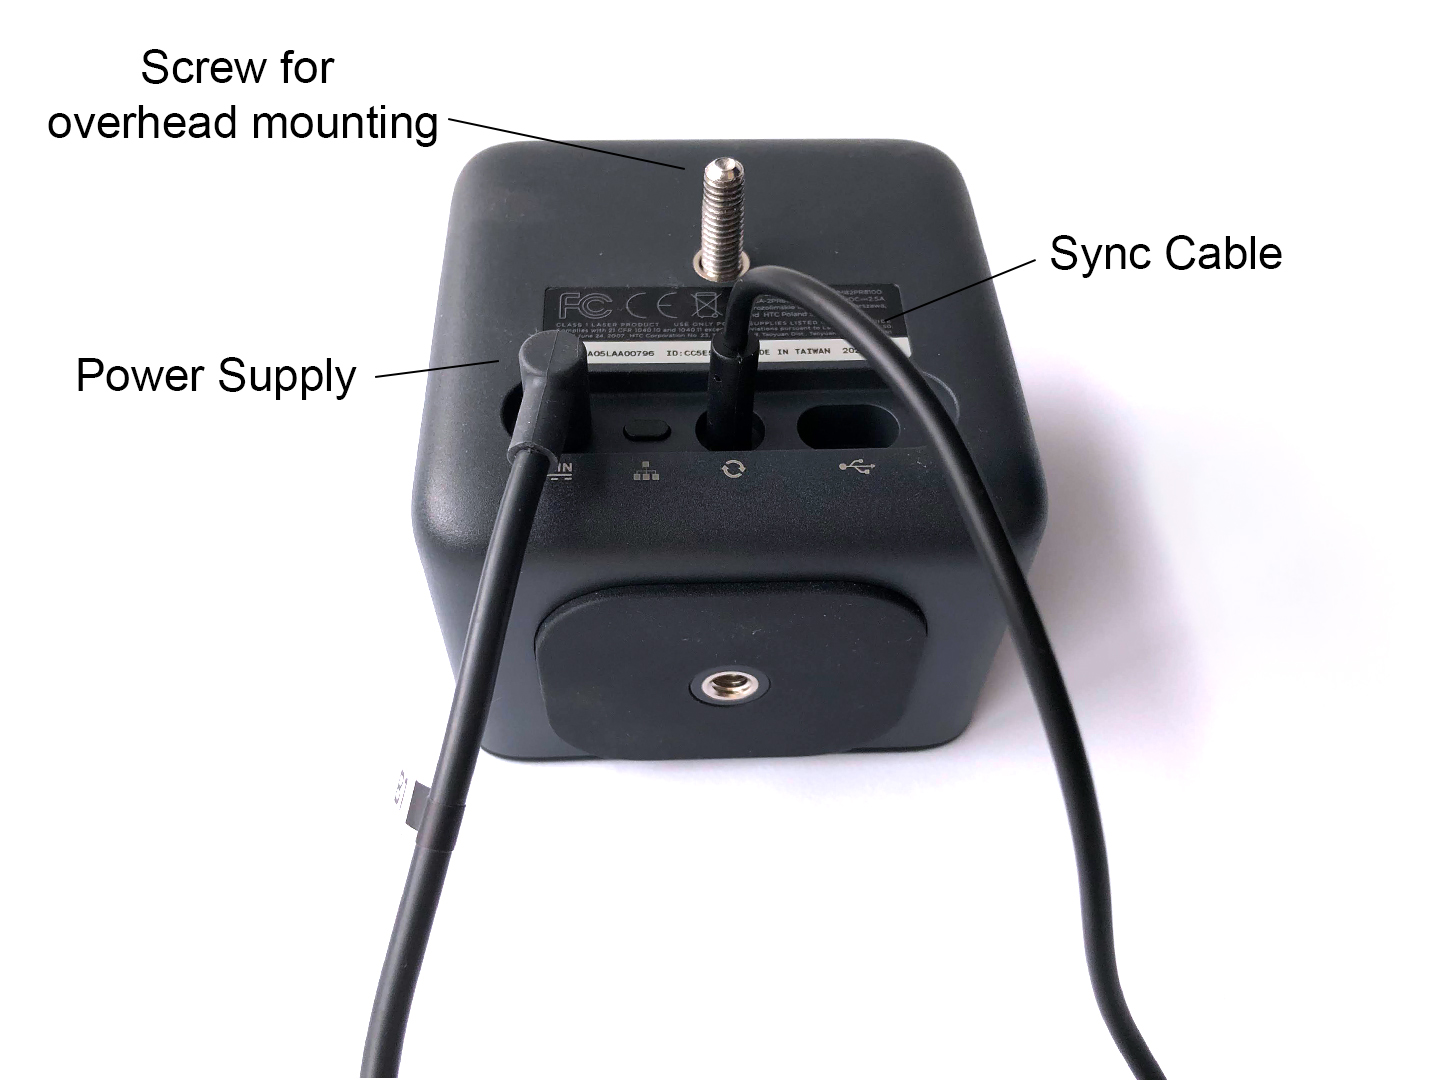
Connect one power adaptor to each lighthouse.
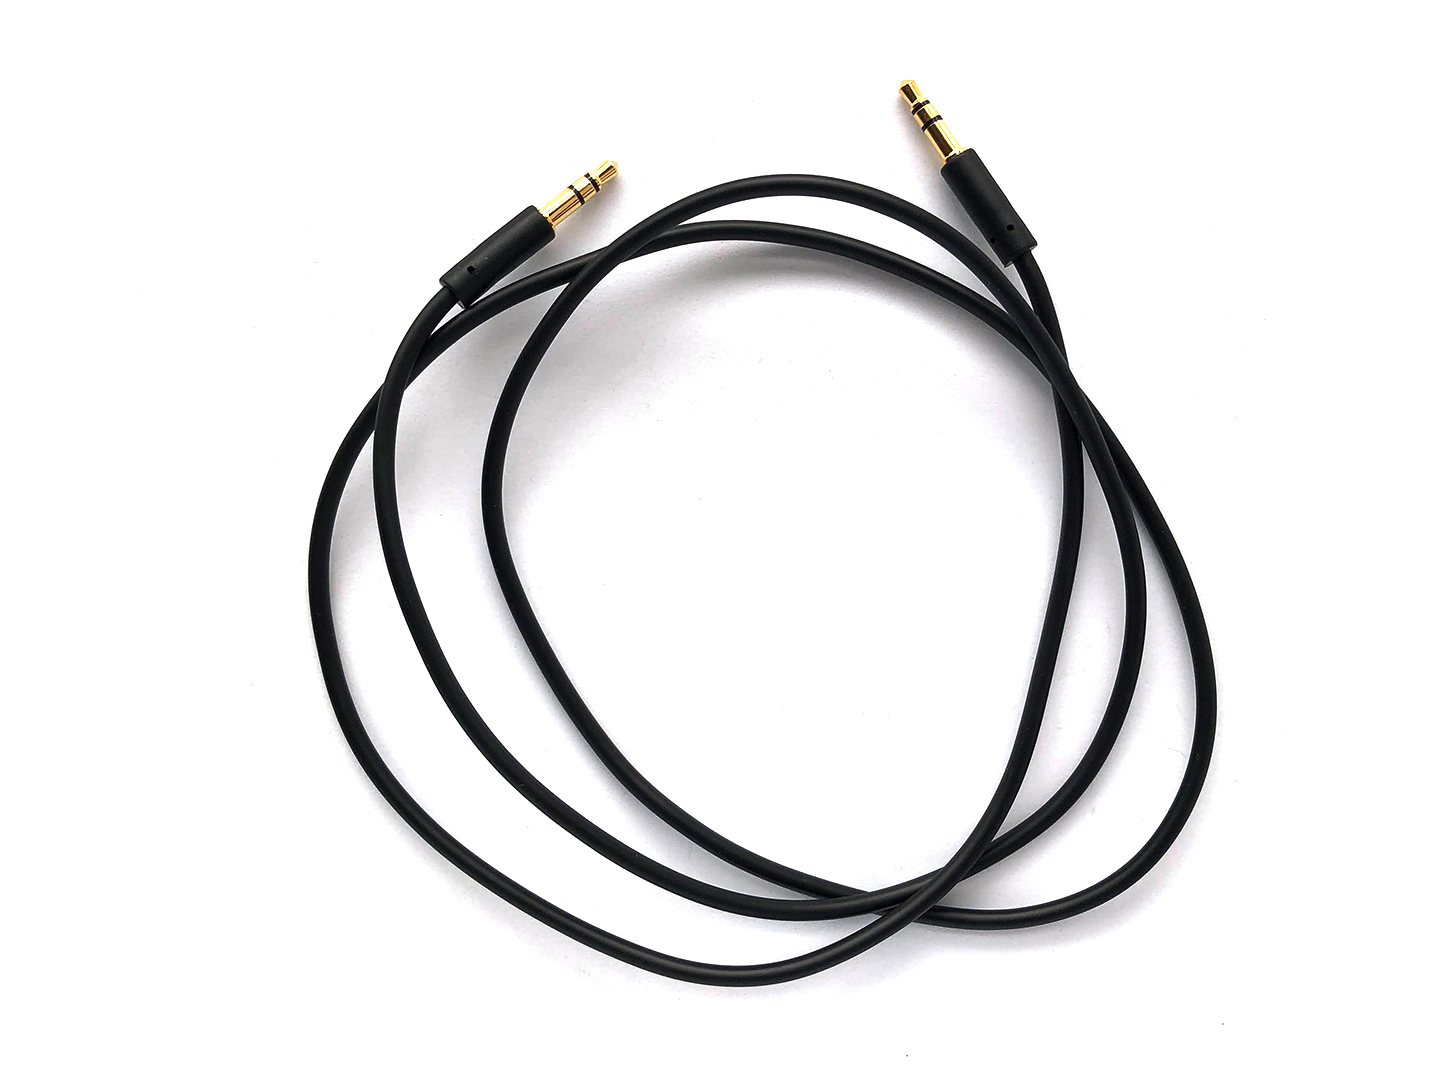
Using a 3.5 mm Stereo Jack Plug to Plug (audio) cable, connect the basestations to each other to synchronise them.
Manage the cables such that they don’t occlude the TS4231 receivers from the lighthouse transmitters.
Set one lighthouse to ‘A’ and one to ‘b’ using the channel button (illustration below is from the Vive manual)
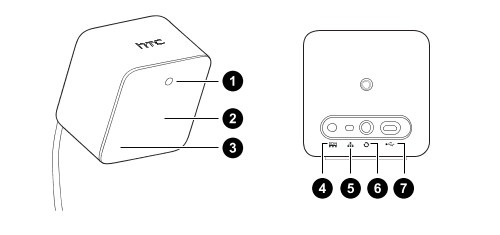
1. Status light
2. Front panel
3. Channel indicator (recessed)
4. Power port
5. Channel button
6. Sync cable port (optional)
7. Micro-USB port (for gateware updates)