Network Events#
Plugin Type |
Filter |
Platforms |
Windows, Linux, macOS |
Built in? |
No |
Key Developers |
Shay Ohayon, Josh Siegle, Aarón Cuevas López, Christopher Stawarz, Arne Meyer |
Source Code |
Installing and upgrading#
The Network Events plugin is not included by default in the Open Ephys GUI. To install, use ctrl-P or ⌘P to open the Plugin Installer, browse to the “Network Events” plugin, and click the “Install” button.
The Plugin Installer also allows you to upgrade to the latest version of this plugin, if it’s already installed.
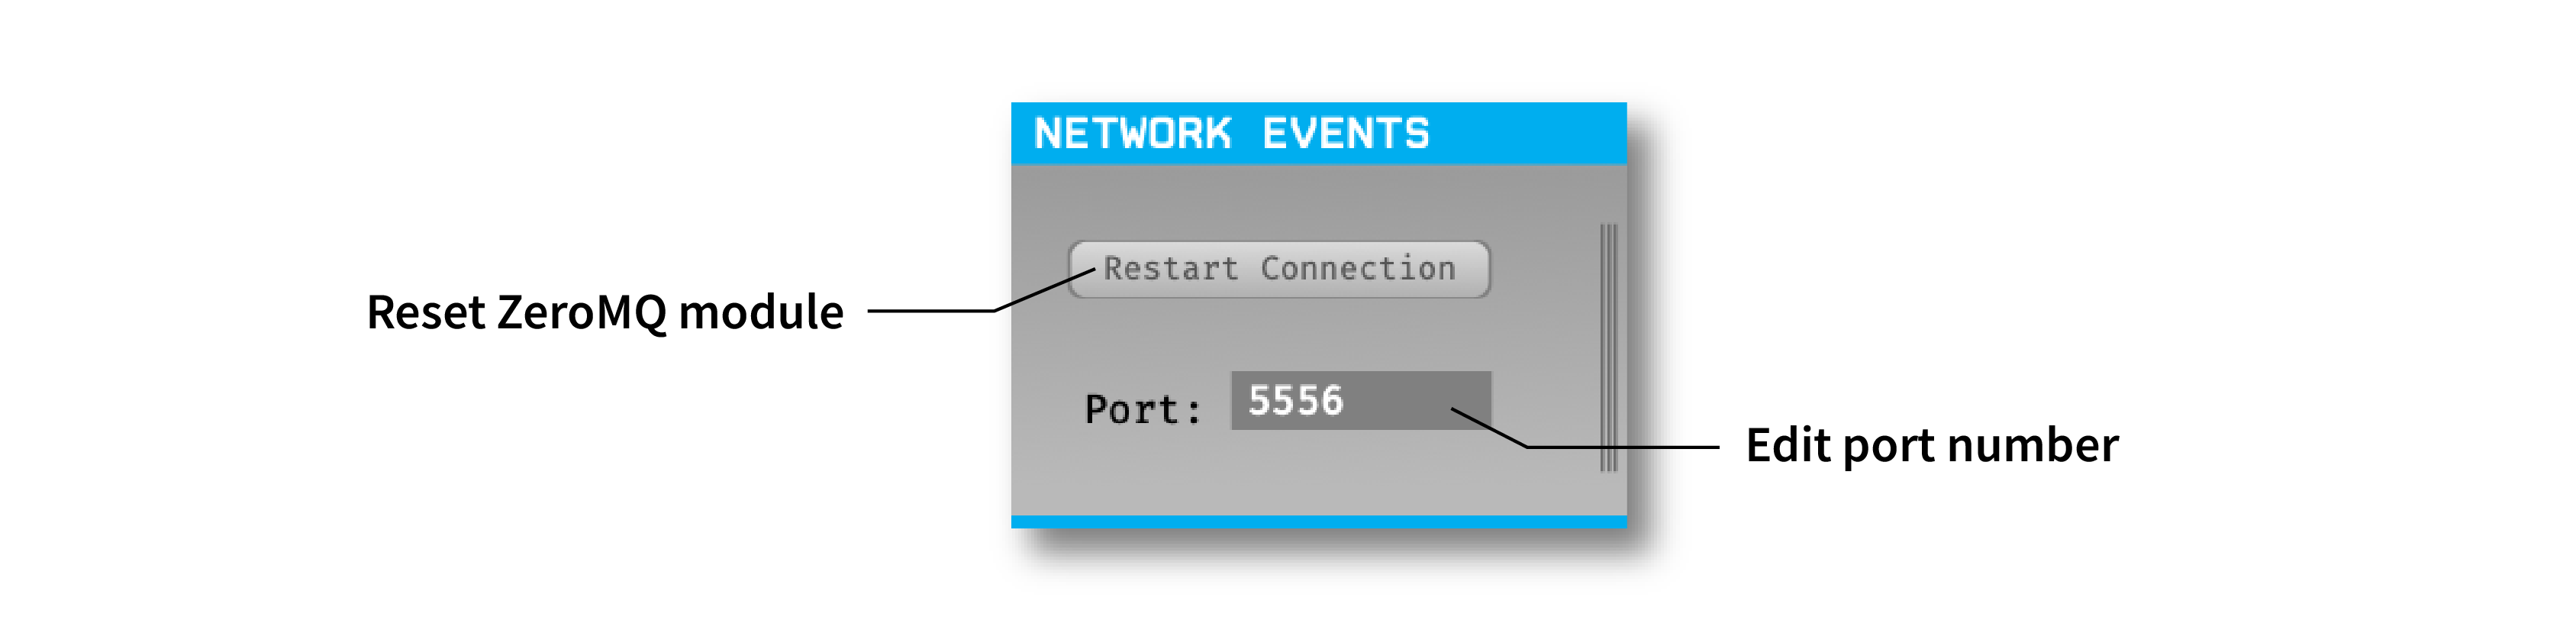
Plugin configuration#
Since the Network Events module sends events, and not continuous data, it cannot be placed at the beginning of a signal chain. The plugin will add events to all data streams that pass through it.
Remote control commands#
TTL Events#
The primary purpose of the Network Events module is to add TTL events to one or more of the GUI’s data streams via a remote connection. This makes it straightforward to store event times and trigger outputs from external software, such as Python or Matlab scripts.
TTL [Line=1-256] [State=0/1] – Sends an ON (1) or OFF (0) TTL event on the specified TTL line.
TTL [Word=unsigned_int64_value] – Sends TTL event with the states of the first 64 lines combined to form the TTL word. Each line represents a different bit in the given unsigned 64-bit integer. For more information on how TTL words work, refer to Understanding TTL events.
Other commands#
The Network Events module can also respond to commands related to starting/stopping acquisition and recording. However, these commands are also available via the Open Ephys HTTP Server (added in GUI version 0.6.0). It’s recommended to use the HTTP Server commands whenever possible, as these do not rely on a specific plugin.
StartAcquisition – Starts data acquisition
StopAcquisition – Stops data acquisition
StartRecord [RecordNode=record_node_id] [CreateNewDir=1] [RecDir=recording_directory_path] [PrependText=some_text] [AppendText=some_text] – Starts recording of data
RecordNode– Only apply the CreateNewDir & RecDir options to the specified record nodeCreateNewDir– creates a new (sub)directory with the current date stringRecDir– sets the recording directoryPrependText– sets the text to be prepended to the date stringAppendText– sets the text to be appended to the date string
StopRecord – Stops recording
IsAcquiring – Returns 1 if acquiring, 0 if not
IsRecording – Returns 1 if recording is active, 0 if not
GetRecordingPath [RecordNode=record_node_id] – Get’s the main recording path or, if record node is specified, then record node specific recording path
GetRecordingNumber [RecordNode=record_node_id] – Get’s the main recording number or, if record node is specified, then record node specific recording number
GetExperimentNumber [RecordNode=record_node_id] – Get’s the main experiment number or, if record node is specified, then record node specific experiment number
Example Code#
Matlab#
In the GUI’s Matlab Resources folder, you’ll find a matlab_zeroMQ_wrapper_example.m, which shows how to send messages. Assuming the zeroMQ mex file is in the same directory (which it should be by default), all you have to do is initialize the connection using ‘StartConnectThread’ and the appropriate url, then send a message using ‘Send’, the handle of your connection, and the string you want.
Python#
Python examples can be found at in the Python Resources folder. This folder contains three example Python scripts that illustrate the functionality of the Network Events plugins.
record_control_example_client.py: Remote controls data acquisition in Open Ephys.network_events_console.py: Manually send commands to Open Ephys via ZeroMQ.test_ttl_events.py: Starts a recording and sends many TTL Line and TTL Word commands.